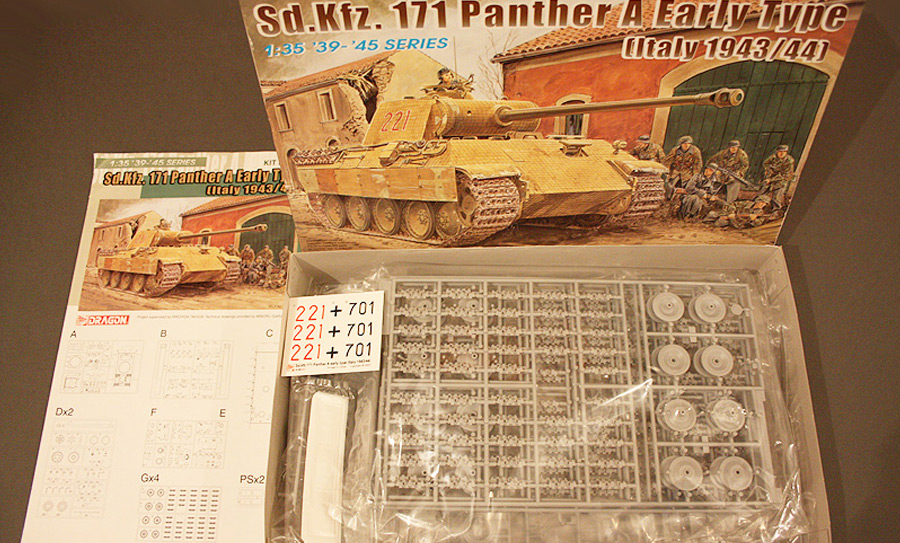
Especially for newcomers to static military modelling, opening the box of the first kit can be traumatic: moulded in plastic and crammed with tiny pieces whose purpose is difficult to imagine.
Never worry, all the best modellers have had to face that feeling at least once in their modelling career and I bet that many, like myself, still feel that way when facing certain last generation kits.
First of all, before proceeding with the construction of a model, it is necessary to carefully study the instructions and identify the required parts on the sprue-tree, mentally going over the steps of separation from the sprue and eventual assembly. It may seem silly but very often, the enthusiasm after buying a long awaited kit, might lead to a haphazard approach to its construction, assailing the sprue with cutter and clippers with the end result of not being able to figure out how and where to place the various pieces that make up the model. Patience then! [if you’ve chosen this hobby, that’s one thing you won’t be lacking].
The rules indicate that first you should wash the sprues and main parts of the kit with warm water and soap in order to remove any traces of releasing agents with which the moulds are treated during the production process of the plastic kit. Personally, I never do this and never had any problems.
After planning ahead the assembly procedures in the most convenient manner, bearing in mind also the subsequent painting stages [not necessarily following the sequence indicated in the instructions], we can proceed with the removal of the parts from the sprue.

I use a proper, rubber cutting mat as a working surface. The surface has to be sufficiently sized and rigid enough to provide direct and stable support for the sprue and the part being removed. A word of advice: Never try to cut from a raised sprue-tree or too close to an item as there is the risk of damaging the part, with the result of having to use filler for unnecessary repairs.
Alternatively, it’s possible to use a small side-cutter that in most cases prevents damage to parts that may otherwise be too small and awkward to remove from the sprue-tree. As previously stated, the cut must be done at some distance between the part and the sprue-tree, proceeding subsequently to remove the casting nib. This can be done with the use of sandpaper, nail files [those for manicure are very handy] and also with the cutter if due care and skill are exercised.

The condition of the item removed must be checked, with eventual removal of any plastic burrs and the inevitable mould lines that run along the length of every part and that result from the mating of the two moulds during production. For this I use the cutter, passing the blade perpendicularly to the line to be removed. It’s a risky procedure because of the possibility of removing any details but it’s also quick and the risk is acceptable.
Once sanded and scraped, the treated part is touched very slightly with liquid polystyrene cement. Used sparingly, this helps smooth out the abraded surface and renders the work done invisible.
We then dry fit all parts in order to verify correctness and accuracy and voila’…we can proceed with the next piece and assembly of the first parts
Have fun!