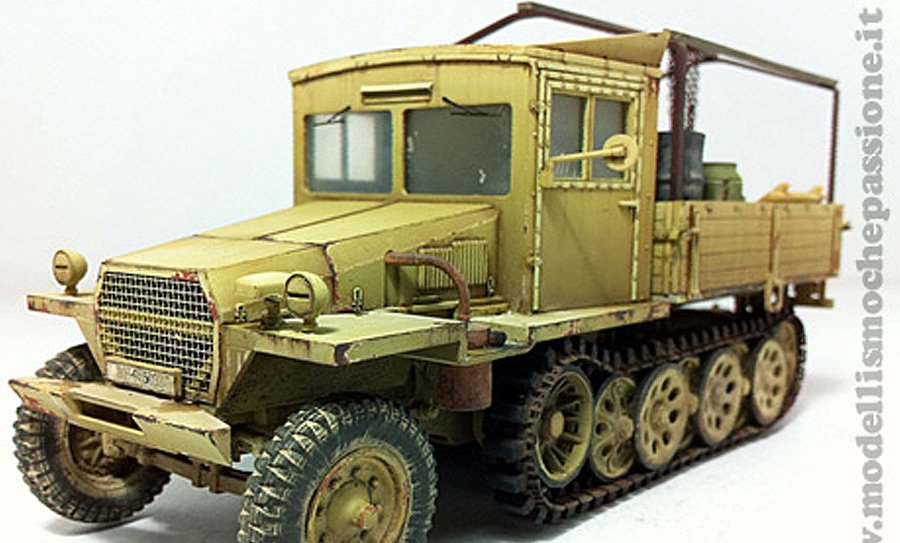
The Sd.Kfz. 11 (Sonderkraftfahrzeug – special motorized vehicle) was a German half-track that saw very widespread use in World War II.
Its main role was as a prime mover for medium towed guns ranging from the 3.7 cm FlaK 43 anti-aircraft gun up to the 10.5 cm leFH 18 field howitzer. It could carry eight troops in addition to towing a gun or trailer.
The basic engineering for all the German half-tracks was developed during the Weimar-era by the Reichswehr’s Military Automotive Department, but final design and testing was farmed out to commercial firms with the understanding that production would be shared with multiple companies. Borgward[Notes 1] was chosen to develop the second smallest of the German half-tracks and built a series of prototypes between 1934 and 1937. However development was taken over in 1938 by Hanomag who designed the main production version, H kl 6.
The chassis formed the basis for the Sd.Kfz. 251 medium armored personnel carrier. Approximately 9,000 were produced between 1938 and 1945, making it one of the more numerous German tactical vehicles of the war. It participated in the Invasion of Poland, the Battle of France, the Balkans Campaign and fought on both the Western Front and the Eastern Front, in North Africa and in Italy.
(http://en.wikipedia.org/wiki/Sd.Kfz._11)
Building the model.
Step 1
After a complete cleaning, I paint “Mr. Surfacer 1000 from Mr. Hobby“. I using Modulation Technique painting (This looks very cool). I start to paint the base color with Dark Yellow Tamiya XF-60.

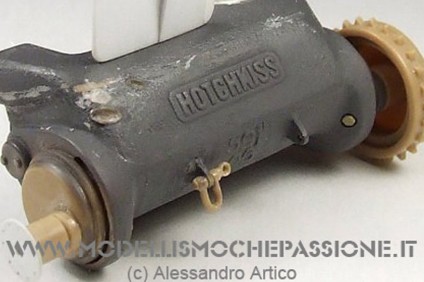
After it cure, I start to weathering for datail parts ex. Tires. For the cab, I need to paint in real wood plank color so I paint the color Tamiya BUFF for the base and weathring with oil color to get the final result. I see the real wood plank color to get the closer result.

Then I spray the Gloss Clear coat for decal applying. After decal setting and dry, I paint Gloss clear 2 times then I start to weathering by washing with Shadow Brown oil color.
Step 2
The next step is painting the scratch. I am using Vallejo with small tip brush.
Step 3

The next step is how to fading the color for make the model color look pale and old. Using oil color Fade yellow, white, brown, lemon yellow, dark brown and using White Spirit (Turpentide) for gradient.
Step 4

After that I need to paint the details for streak and dirty with oil color and AK Interactive products. I using rust streak, AK is very good because it has strong surface bond and fast drying.

Step 5

The next is dust details. I using Mig Pigment to make the medium dust surface by using White, Russian Earth, Copper Rust and Beach Sand mixing together and apply to the area I need.

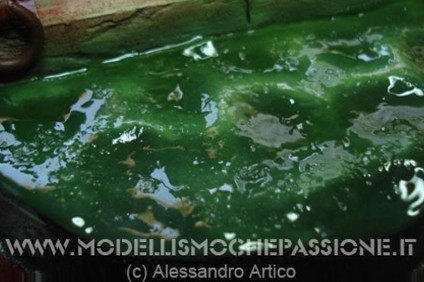
Then I use Tamiya X20A thinner to make the pigment stick to surface. After that, I use Mig color and Tamiya Gloss clear to make engine oil effect and dirty wet effect.

All I hope is useful for young modeller because my technique is very simple.

Thank you for reading and watching. Enjoy
Oishi Gunner