In our dioramas or simple vignettes, we depict situations that occurred during war and it’s highly probable that among the characteristic accessories, one would find barbed wire.
Modelling options are two: either relying on the photo-etched offerings [with the inconvenience of having only two dimensional barbed wire] or fabricating it from scratch [from what I know, no aftermarket manufacturer produces anything as realistic] I by far prefer the second option, since it is more realistic, economical and brings out the true spirit of static military modelling. Above all, it’s simple and highly entertaining.
With this mini-tutorial I aim to share with modellismochepassione.it colleagues, the technique which, with the use of a few materials and tools, produces very effective scale barbed wire.
Materials and tools
- Very fine gauge electrical wire
- Brush/Screwdriver [4mm diameter min.]
- CA Glue
- Scissors
- Hand-drill
- Toothpicks [here, out of habit, I used a dental scribe]

Fabrication
Take two strands out of the twists of wire, fix them into the drill chuck and start twisting them one over the other.


At a certain stage, the wire will start slipping out of your fingers . The loose ends are now fixed to the screw driver [I used a brush here]

Once our wires are well wound up, they will break off at the tail end [brush]

Now take another single strand and fit one end in the chuck.


Using the brush, start creating S shaped weaves around the twined wire, making sure to make two turns at each point of contact.
The distance between rings should be 4mm

Like this you get a regular weave along the whole length of the wire.


Now with the scriber or toothpick, place a small drop of CA glue on the points of contact between the twined wire and the single strand

Once the glue dries, use the scissors to cut the single strand at a height of 1/1.5mm from the base.


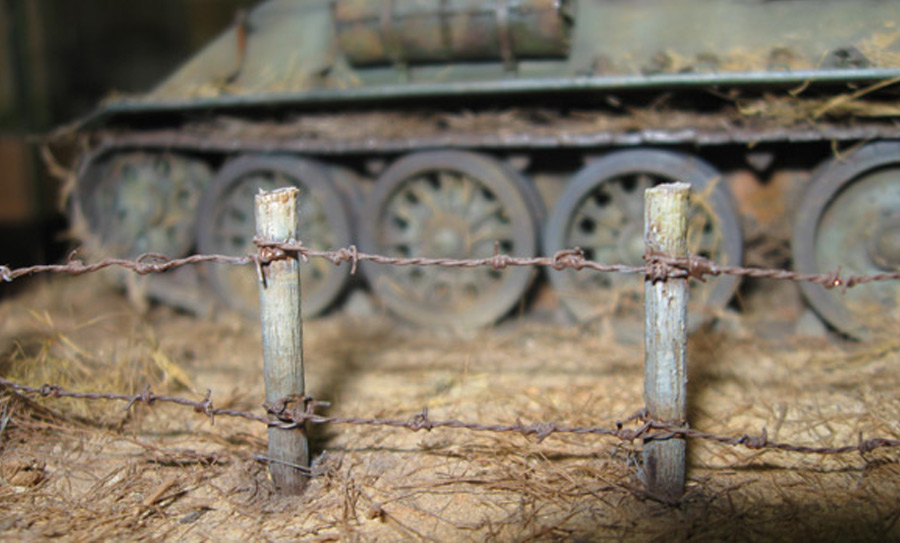
All that’s left now is to paint and weather the wire and place it in our projects!

Andrea Sala