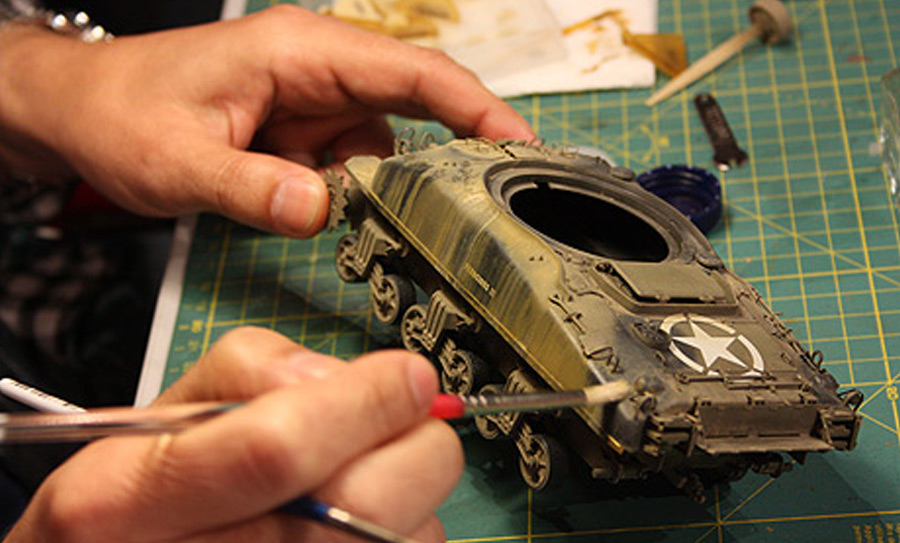
During the last edition of the International Modelling Contest “Modellismo, che passione!” organized by CMT of Turin, the Spanish master Joaquin Garcia Gazquez explained to us how to obtain a realistic weathering effect on the hull of our plastic model.
On this page we’re going to show his particularly technique.

After painting the base coat of acrylic colours, khaki and black, Joaquin is ready with new materials: Humbrol enamens (sand and earth), oil colours (Sienna natural earth, ochre), some artistic pigments (sand and ochre) and Humbrol thinner.

First we insert thinner in airbrush and than enamel colour resumed from bottom of the tinlet without shake. Mix well and set the pressure to 0.8 bar. We have to cover irregularly small sectors of the model from top to bottom of the surface without covering the base colour.


Now we wait 10/15 minutes to let the colour dry.

After cleaning airbrush we kept some brushes: small, large and hard irregular brushes for various actions on the sprayed surface.


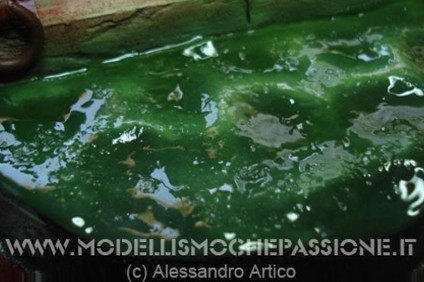
Now we treat the surface from the top to the bottom with a wet brush with Humbrol thinner. Some part of enamel colour will be removed downwards in stripes (same as the rain effect on dust over a real vehicle). It’s very important to move from the top to the bottom downwards (same as the gravity action on dusted surfaces).
Of course, the moving parts or most frequented by the crew are the cleanest and the most hidden
recesses are the most dusty. Logic, common sense and the photographic reference help at this time.
The gentle movement of the brush from top to bottom will produce streaks of color and help to mitigate the sense of uniformity obtained immediately after the treatment with airbrush.

We can airbrush again with the camouflage background colors (black and khaki) over surfaces to reduce the effect of flattening, using flying masks, in this case a simple business card, that help accentuate the vertical streaks.


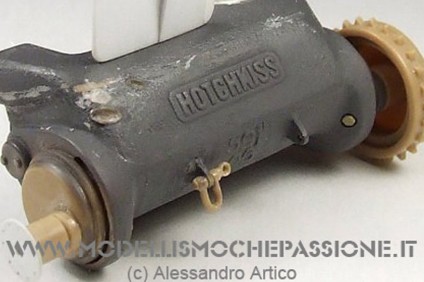
It’s possible to emphasize the effects of locally dusting on train rolling and fenders using with oil colors and pigments.

The oil paint will be deposited on a cardboard for packaging to absorb the oily component and to obtain a more opaque and realistic effect.


First we apply the pigments powder, for example on the horizontal part of the fender, and then we apply the mixture of the oil colour “Terra di Siena natural ” and Humbrol thinner to fix the powder.
This procedure makes it possible to simulate the effect of increased volume of the coat of earth and dust.

Within minutes the treatment will be dry and very realistic. Meanwhile, we try to create some other effects such as spots and leakage of fuel. For this we will use again oil colours, specifically the colour “Bitumen”, but at this time without compromising its oily component. Just lay them on the masking tape.

The selected part is the area around the fuel fillers. As previously, we have to dilute the oil colour with Humbrol thinner, reproducing the drips and leaks with a brush.


This technique is very simple and cheap because it provides for the use of non-specific modeling materials, readily available in the shops of fine arts.
Thanks Joaquin and see you soon!
Meet Joaquin Garcia Gazquez on his web site!